What is the best caulking tool?
The first and most costly mistake made for any first-timers doing a DIY home caulking job is buying the wrong tool. There are two kinds of caulking guns, the ones that work well and the ones that don’t. Want to guess which are the cheapest? And the most frustrating to use? And guess which ones will cost you more in the long run? Yep, the cheap ones every time.
With a cheap caulking gun you will waste material, make a mess, have to re-do sections and then likely go buy a better gun anyway so you may as well buy a quality caulking gun in the first place.
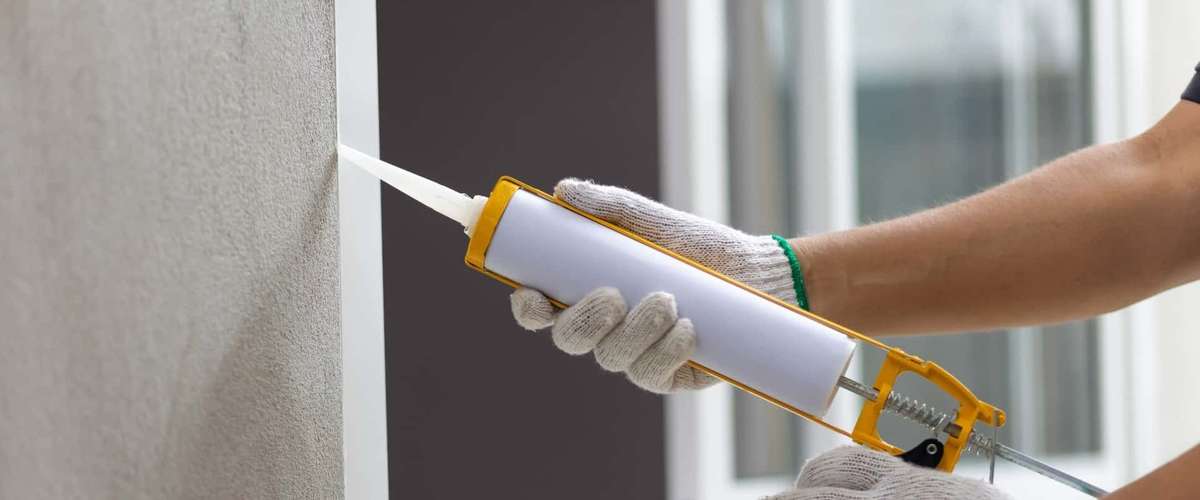
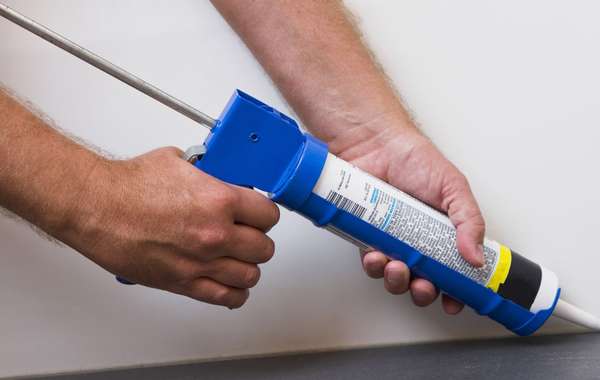
Dripless caulking guns do the best job because of the mechanism that stops the flow. A caulking gun works by pressurizing the tube to force the material out the other end, and if you can’t release that pressure when you want, it will keep oozing out when you don’t want it to. That will leave you with a sticky mess of colored goo all over your hands, the floor, your windows, maybe your dog even… and that is the difference quality makes.
Cheap guns have a lever at the back that you have to push to release the pressure, and it’s that precious half-second it takes to click it rather than releasing the trigger that can mean too much material comes out; that is the first step to creating a mess.

How a caulking gun works
All caulking guns – the good ones and the bad ones – have a metal rod with a plate at the end that pressurizes the tube as you pull on the trigger. The difference in quality is how it locks and releases. A dripless gun locks the pressure rod the moment you release the trigger, while a cheap gun has a ratchet that advances the plate in small set increments.
That pre-set increment may not be at the precise spot when you want to release the pressure; that’s where you need to click that lever in the back of the gun. And then grab your rag quickly because it may keep releasing material when you don’t want it to.
How do I find the right caulking for the job?
There are many types of caulking for different purposes, and they are composed of different materials. Some are more durable than others, some are more toxic than others. See our complete guide to buying the right caulking here.
The best way to open a tube of caulking
Once you have good caulking gun and the right caulk for the job, the next big mistake to avoid in caulking is opening the tube incorrectly. The good guns will often have a built-in cutter, consisting of a small hole near the top of the gun close to the trigger with a small blade inside.
Stick the tip of the tube in – no more than an 8th of an inch at first – and snip it off. Most pros recommend cutting the tip on a 45 degree angle, so try that first. If you find it really isn’t working for you, cut it straight. You’re not building a rocket ship here so if it you’re happy with the results, then go about it the way that works best for you.

But regarding the size of the opening you cut, it really does help to keep it small. Unless you are trying to fill the grand canyon of gaps in boards and you need a larger bead of caulk, it should be a very small opening. If the gun you are using doesn’t have a cutting tool that’s not a problem, just use a utility knife. The gun cutter is a convenience, but a knife works just as well.
How to load and remove caulking from the gun
With the caulking gun facing away from you, pull the metal bar towards you as far back as it will come. Then put the tip of the tube into the opening in the metal at the business end of the gun and put the round metal plate into the base of the tube and pull the trigger until its tight. Gun loaded, game on.
When your tube is empty, pull the bar back out to remove the tube. If you did buy (or borrow) a cheaper ratchet style caulking gun for the job you will need to release the ratchet lever bar to pull it back. You will probably find your caulking-experienced friends are more than willing to lend – or give you - their cheap gun if not their good one.
What is a caulk finishing tool?
Nothing to purchase here, you already have 10 of them. This is arguably the most important skill to hone. You can purchase caulking profiling tools online, but most pros just use a finger and swear by it as the best tool in most cases.
You can easily smooth a small bead with pressure from the tip of your finger, as long as your finger is wet. Yes, you can lick you finger and it will work, but repeatedly sticking a finger into your mouth with possibly toxic caulk on it is best avoided, I think we can all agree. So, keep that wet rag handy.
If a final pass with a finger (or profiling tool) goes wrong, that is an indication there is too much caulk in the gap. You should see it smoothing out, and not pushing a pile in front of your finger like a snowplow. This is one of the many reasons not to do an overly thick bead, you'll make a mess and use up your caulk for nothing.

A true pro at caulking will most often leave a perfect bead that does not need a finger swipe after, but if you are reading this page you likely aren’t a pro, so be sure to have at least one finger on you for this job. Maybe too in case the first one breaks. Okay I’m sorry, but this would be a really boring topic without some stupid jokes.
Should you push or pull a caulking gun
When you look online for advice how to hold a caulking gun to get a smooth line, you will be advised to ‘always pull a caulking gun towards you’ about half the time and ‘always push a caulking gun’ the other half. Fun eh?
So basically, do whichever way leaves you with the most consistent bead. Pushing it will force the caulk into any small cracks, but you really have to be on the ball with the pressure and flow rate. It is very easy to go too slowly for the pressure, which can leave a build up on either side of the bead.
How to caulk large gaps
A tube of caulking will sometimes be jokingly referred to as ‘liquid carpenter’, meaning the *actual* carpenter was a little relaxed with the precision of their cuts. Mass produced tract homes often rely on cosmetic fixes like that to keep up production rates.
If gaps in trim boards around doors or the baseboards are quite wide, you could quickly empty a tube into a crack if you’re not careful. So best to fill the gap with a solid material rather than a liquid (yes, caulking qualifies as a liquid, albeit a pretty thick one). If you try to fill a gap too large, particularly with baseboard trim, it can slowly slip down further into the crack forcing you to re-do it.
A way around that is to first fill the gap with something like a backer rod, which is long strand of cylindrical foam that can be pushed into the gap first as it can pressure-fit near the top and allow the caulking time to set at the top of the gap where you ran your bead. If you don’t have or want to go get backing rod, you can use paper towel, cardboard, or something similar.

Tips for how to caulk without making a mess
How to do caulking properly without making a mess is a common question. If you have followed the advice above about choosing the right caulking gun, how to cut a tube of caulking correctly, it really boils down to a few short points, starting with this - take your time.
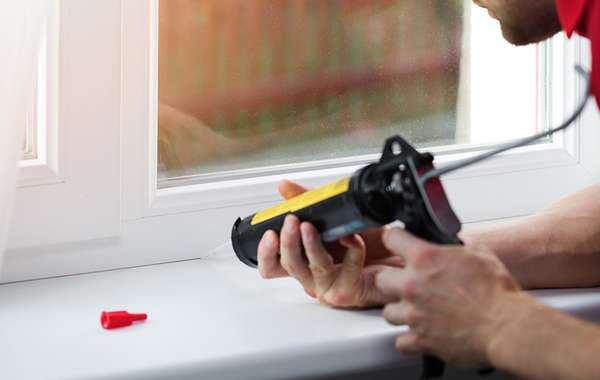
Watch where you put the gun down, make sure the tube is not pressurized, and keep it clean. Before caulking sets it is pretty easy to clean up of on most hard surfaces, So keep a wet rag handy for cleaning the tip of the tube and any unplanned drops.
Practice a bit first someplace that doesn't matter to hone your skills before you go straight to caulking a bathtub or trim board. It is at this point where you will get an idea of your own skill set, how soon you are ready to start, and whether or not you will need to have a box of rags and latex gloves at the ready.
Pro tips for caulking – how to do it right
A quick DIY home improvement job where you only need a small amount of caulking will not require advancing into the upper echelons of caulking masters, but if you want to really up your game, here are a few hints:
Draw an orientation line on the caulking tube: if you have cut your tube of caulking correctly, it may well be hard to see which direction your angle is pointing. If you take a marker and draw a line on the tube, you will always know which direction to point it to create the smoothest bead.
Cutting a V-groove on the tip: as you will be running your tube of caulking on an angle and most often in a corner, a slight V-groove in the tip opening will allow the tip to fit right into the gap you are trying to fill. This isn’t absolutely essential, but it can lead to a slightly more accurate and smaller bead.
How to clean mold and mildew off caulking
If you are here to learn how to caulk properly because the caulking around your tub or sink is dirty with mold or mildew, try cleaning it first before pulling it off and replacing it. A mixture of hydrogen peroxide diluted with water will kill bacteria and could restore the caulking to a satisfactory condition so you may not need to replace it. Vinegar and water will also work well.
How to remove dried caulk
If after you finish a caulking job you find there are areas you missed cleaning before the caulk set, you can trim it afterwards. There are situations, like house exteriors where there won’t likely be as close an eye on the quality of work, where you may be best even to let it dry before removing it. And this is speaking from experience. I can’t tell you how many times I’ve attempted a cleanup and made it much worse, even having to remove it and start over.
Sometimes a bead is nicely done and it is sealing the necessary crack, but there may be some excess. If you find swiping it with your finger is making matters worse then let it dry and come back to it. At which point you can trim it with a sharp utility knife.
I would expect there to be some dissenting voices in the comments section about a few tips in here and that last one might be a magnet for rebuttals, and I’m happy to hear it. As mentioned above, this is not a rocket, no lives are at stake. If the caulking is intended to prevent water from moving and it is doing its job properly, then even if it is bumpy and messy, that’s just aesthetics.
Author: Robert J. Pierson - Ecohome Network
See all posts by Robert J. Pierson
Now you know more about choosing the right caulking and how to use caulking guns without making a mess. Find more pages about sustainable construction below and in the Ecohome Green Building Guide pages.
Find more about green home construction and discover the benefits of a free Ecohome Network Membership here. |





Comments (0)
Sign Up to Comment